Setting Up A New Blog on Pinterest
Running multiple blogs has several advantages as well as disadvantages. One of the biggest advantages is that I have to repeat tasks frequently. That means I get tons of practice and insight as to what works best for me.
I’m able to use repetition to develop a procedure that breaks each major process down into actionable steps as well as generate checklists to be sure I have things set up completely. Pinterest is no exception.
With many of my blogs, I wait until they have at least 20 – 30 posts before I even worry about Pinterest. While I think it is highly beneficial for even new blogs, my focus initially is content.
The actual process of setting up a Pinterest account can easily take a couple of hours for me. Today I was doing just that so I thought I’d go ahead and share my checklist and overview of my strategy here.
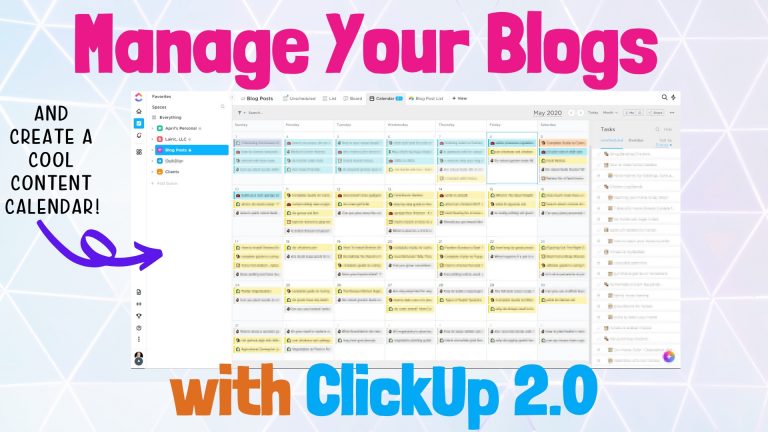
This video covers everything in the text below:
Getting Started with a New Blog on Pinterest
First things first you will want to have a unique email account for your blog. I typically create something like april@bloggersontherise.com or admin@bloggersontherise.com.
In most cases, you want a separate Pinterest business account for your blog. This is critical for two major reasons:
- You can ensure that the business Pinterest account is 100% optimized for your blog niche and not “diluted” by personal boards or pins that interest you.
- Social media accounts are an asset for your blog and should be treated as such. Even if you aren’t thinking about selling your blog now, if and when you do most buyers will want your Pinterest account as part of the sale. As such, you want to make sure it is completely separate from your personal account.
Creating Your Pinterest Business Account
When you are setting up a business blog, it is easiest if you use the Pinterest business account URL. Otherwise, it tends to want to set up a personal account and a separate business account. Creating two accounts, which is a pain.
To get started, LOG OUT of your existing Pinterest account.
Then use this link: pinterest.com/business/create/
This will get you started with a Pinterest business account. Keep in mind that you will want to use an email address that is specific for your blog.
Setting Up Your Pinterest Profile
Setting up your Pinterest profile is the next step. Be sure to fill in all of the details and descriptions so that Pinterest, and potential profile visitors, can easily ascertain what your blog and Pinterest account is all about.
I personally do not fill in phone number, however. But all of the other fields can be important for displaying your profile properly.
You’ll also want to set up a profile image. My recommendation is to use an actual picture of yourself. While there are plenty of blogs that use their logo for the profile image, having a “real” face behind the pin gives a more personal, human touch in my opinion.
Setting Up Your First Pinterest Boards
The next step is to set up your first Pinterest boards. The topic/titles for these boards should directly reflect the type of content you blog about.
If you aren’t sure what to put, check out the boards of other popular bloggers in your niche. What are they using for their boards? What are the types of things they have setup?
Above all, don’t stress. You can always add more boards later. If you find that one you created is kind of off-topic, you can delete whole boards too if you needed to.
The big key is don’t stress out and let the fear of messing up stop you. Just get it done, you can always change it later!
For each board, you create you will want to add a description and at least 10 relevant pins to let Pinterest know what the board is about. These aren’t your pins, we haven’t gotten that far yet.
Typically I choose from the list of suggested pins that Pinterest gives you every time you create a new board. That is what Pinterest thinks your board is about, and if they guessed right, those are great pins to add as a start.
What Next?
After your initial boards are set up, the very next step I take is to start creating a Pin schedule and scheduling pins.
The strategy I use is a combination of the tips I learned in Pinteresting Strategies (check it out here) and part just doing things and experimenting on my own.
If you are the type that worries about doing things “right” (like me), a Pinterest course is a great starting point. I’ve taken a few, read some paid ebooks about it but the Pinteresting Strategies method really resonates with me.
In my next blog post, I’ll be going over the Pinterest Pin Interval Calculator I created in Google Sheets as well as how I schedule my pins using Tailwind.
If you enjoyed this content, consider buying me a coffee.
MY NICHE SITE PROJECTS
Interested in reading about my niche site projects? Check out my Niche Site Project List to see my projects & their individual status.
RESOURCES I USE
I keep an up to date list of all of the tools and resources I use to manage my blogs, including how I create the awesome dashboards in my income reports, on my Tools and Resources page.
These are my top tools:
- ClickUp – It has easily helped me 10x my productivity.
- Big Scoots Hosting – (or, alternately, SiteGround)
- Tailwind for Pinterest
- ConvertKit for Email List
- Airtable for data tracking/spreadsheets when I first started (though I use ClickUp Exclusively now)
- Project24 the main course I took to learn how to blog, and my primary blog course recommendation.
- BloggerPlot for Analytics and Search Console Analysis in one place.
- Amalinks Pro for Amazon links and awesome tables.
- OnlineJobs.ph for my Virtual Assistants
- Pinteresting Strategies Course for Pinterest
NEWSLETTER SIGNUP
If you want to be updated when I write a new blog post, use this form below. It isn’t pretty but it works :D. I promise to try to remember to email you!
